- Solutions
- AI First Services
- Business Outcomes
- Industry AI Accelerators
- Insights & Resources
- About
For business management solutions email us or call 020 3004 4600
If your business is looking to use ClickDimensions within Dynamics 365 to make it easier for users to view, manage and change their email preferences i.e. choosing which marketing emails they wish to receive, you will need to create a subscription management page first. In our latest tips and tricks article, we will take you through the process of how to setup a subscription management page in ClickDimensions through the use of Subscription Lists that have already been created for the purposes of this article (if you need to create a subscription list you will need to do this first by clicking here).
Part A - Setup a Web Content Record
Step 1: Start up Dynamics 365 and then navigate your way to 'Settings' then select 'Web Content'.

Step 2: Within this section, you can change the view to display all the active subscription pages which you can organise however you wish them to appear. When you are ready to continue select 'New' to create a new Web Content Record.
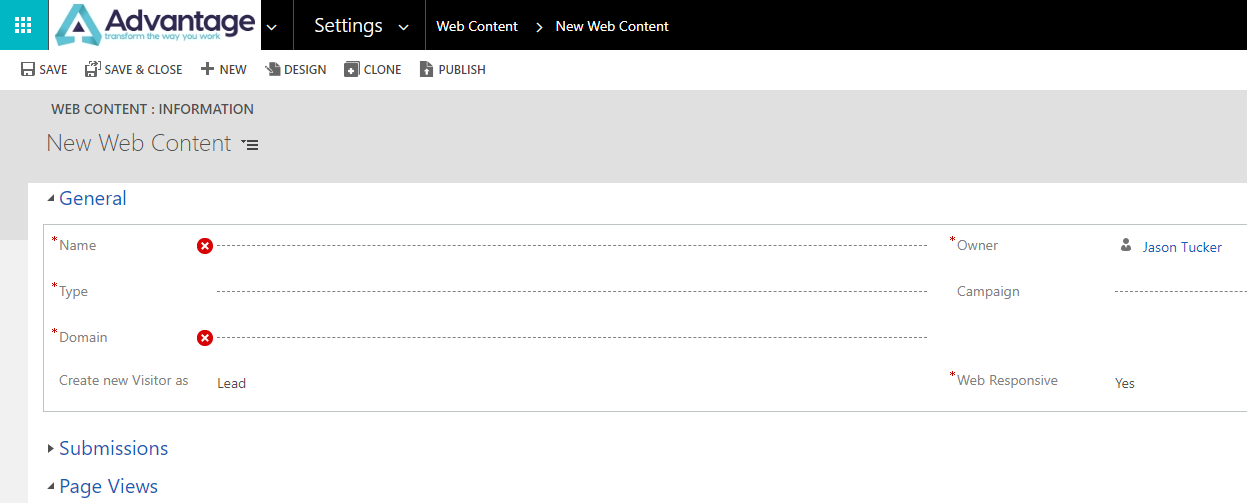
Step 3: Within the new Web Content Record, complete the fields by providing the following:
Step 4: Once you have completed the above fields click 'Save' in the top left hand corner.
Part B - How to Add Subscription Lists
Step 1: Following on from Part A, you will then need to select the 'Design' option.

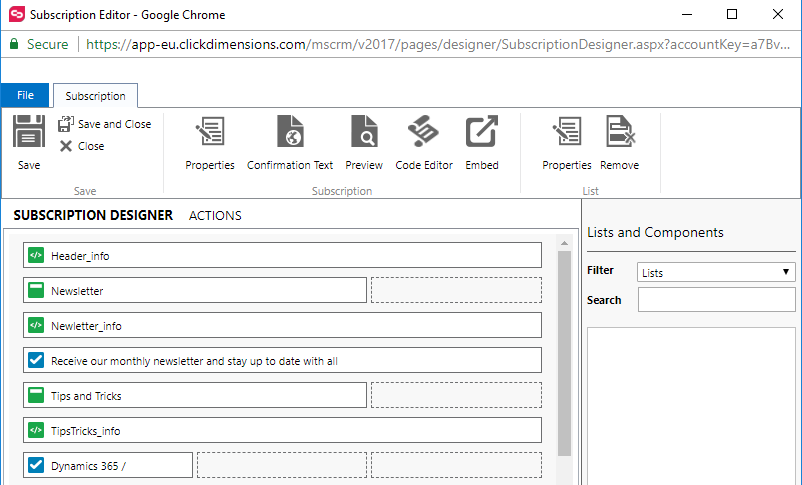
Step 2: Within the Design window, there will be a list of Subscription List records which will appear on the right hand side. To add them to your Subscription page simply drag and drop the ones you wish to include. These can be moved up and down where appropriate. If you wish to remove these simply select the list you wish to remove then select 'Remove'.
Step 3: You are now in a position where you can make changes to the properties of your list which you can do by double clicking on your list then go to 'Properties'.
Step 4: Go to the 'Display Tab' which will show the selected list within the 'Label' field, you can make changes to the text here & give a default value for the list. If the user has already set their preference their default value will already be set. As well as this, you can make changes to the colour, font and text size within the Font Properties section.
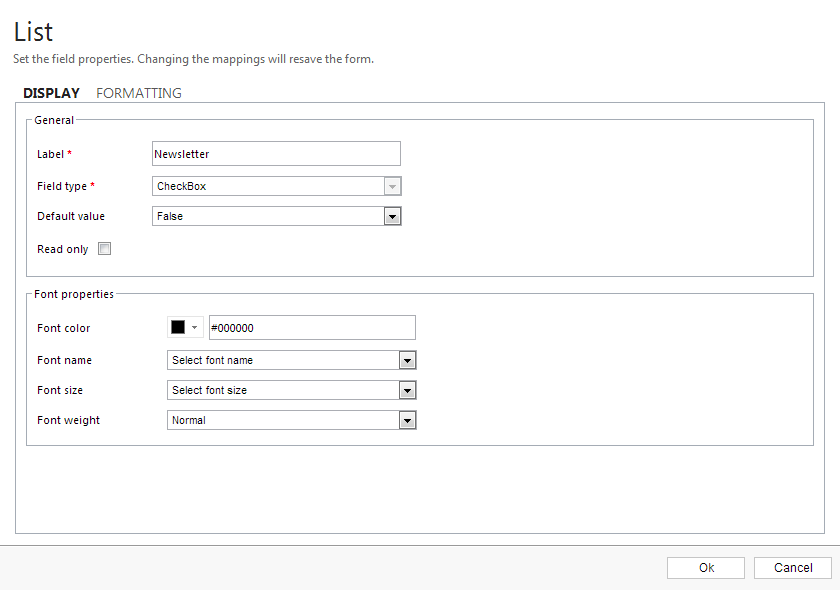
Step 5: Now go to the 'Formatting' tab where you can make changes to the number of columns that will appear.
Step 6: Once you have made all your changes select 'OK'.
Part C – Making changes to the Subscription Page Properties
Step 1: Following on from Part B, you can now make font and size changes to the form properties by selecting the 'Properties' option within the Subscription section.
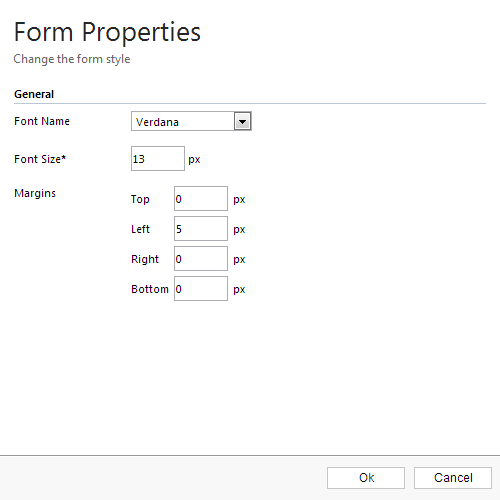
Step 2: Once you made all your changes select 'OK'.
Part D – Making changes to the 'Submit' button
Step 1: After you have completed Part C, you can now make changes to the text, colour, background, image of the button by double clicking on the 'Submit' button from the Subscriptions section.
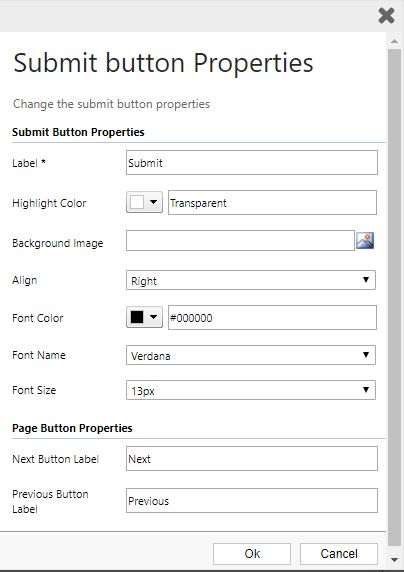
Step 2: Once you have made all your changes select 'OK'.
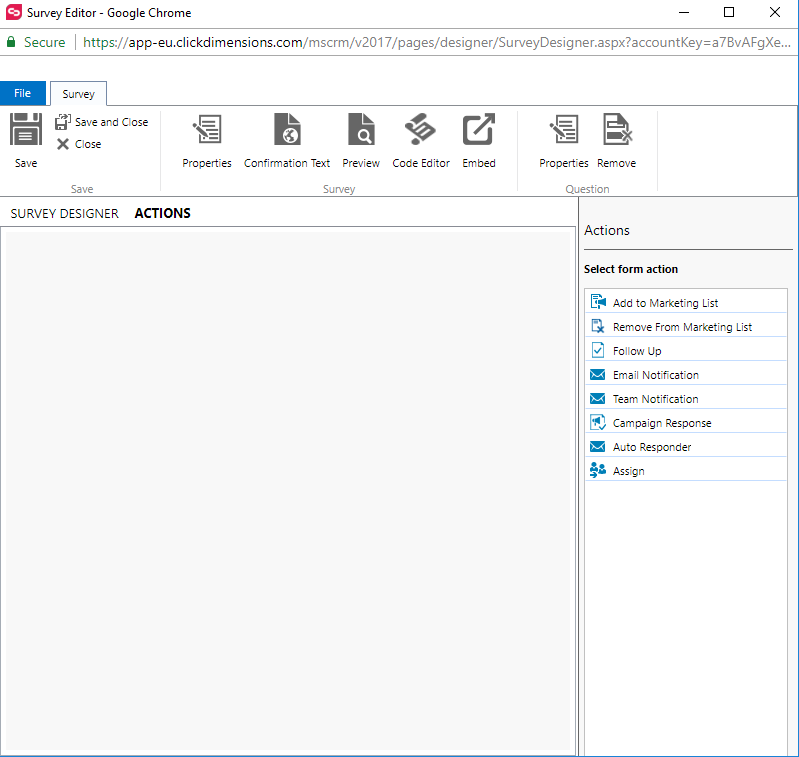
Part E – Adding components and actions
Step 1: Following on from Part D, you are now able to add 'Components' which can be integrated into a form to allow you to improve the functionality or styling. More information on how to do this can be found here.
Step 2: You can also add additional actions for users to take once they have submitted their preferences through the Subscription Page builders. The actions you can assign can be found here.
Part F – Adding Confirmation Text to your Subscription Management Page
Step 1: Following on from Part E, you can now also draft the confirmation text that users will see once they have submitted their preferences by clicking on the 'Confirmation Text' option in the Subscription section which will open up the HTML builder. If you don't want users to see the confirmation text then add a link to the 'Post Redirect' option which will send users to your chosen page after completion.
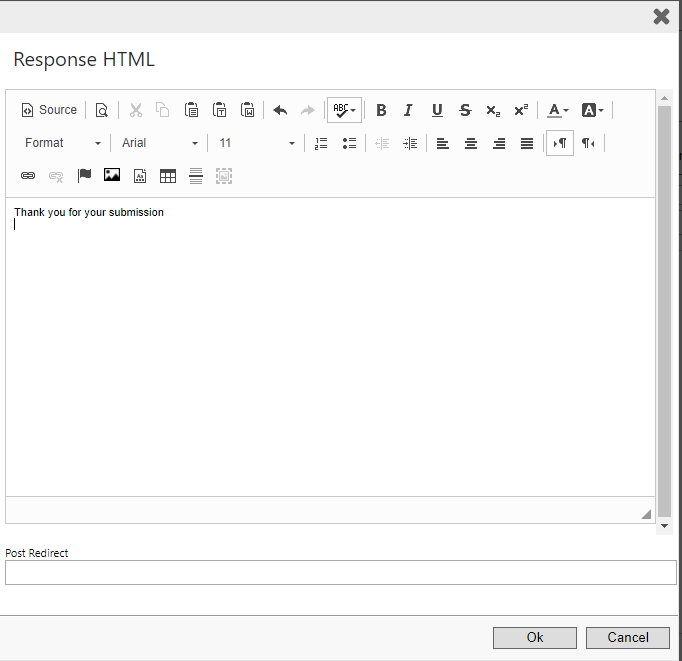
Step 2: Once you have made all your changes click 'OK'.
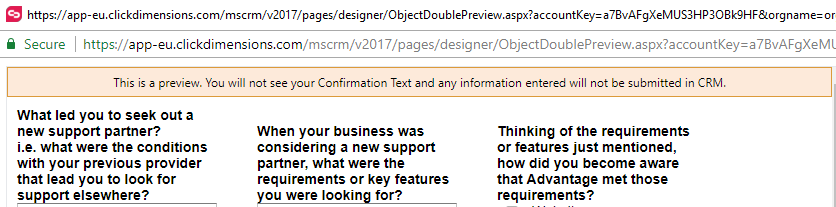
Part G – Previewing the Subscription Management Page
Step 1: Following on from Part F, to see how the Subscription Management page will look you can do this by selecting the 'Preview' button in the Subscription Section.
Part H – Editing the code on the Subscription Management Page
Step 1: Following on from Part G, if you wish to make changes to the CSS properties or Javascript related to the page you have setup you can do this by selecting the 'Code Editor' button within the Subscriptions section. You can make changes to the code and see how they will appear on your page.
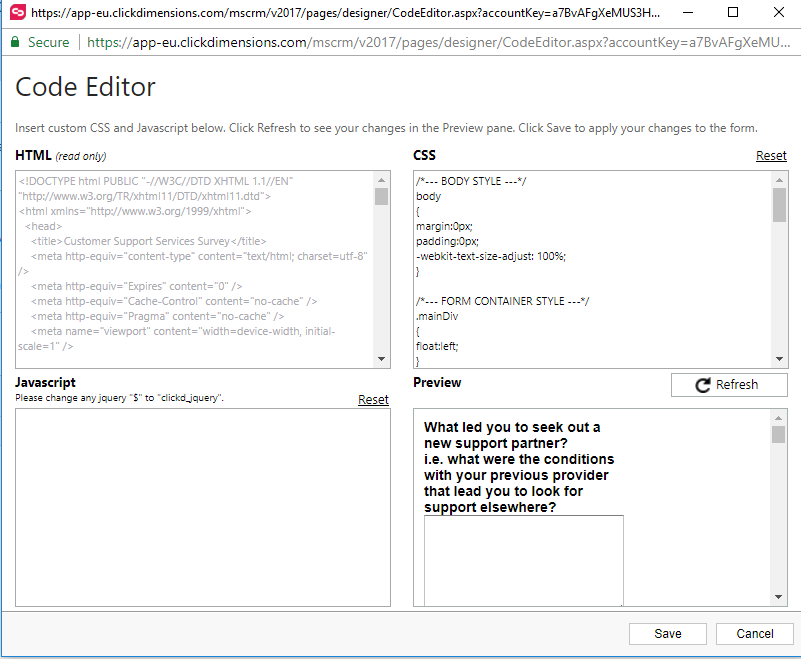
Step 2: If you wish to apply any code changes that you have made to the page, you can do this by selecting 'Save'.
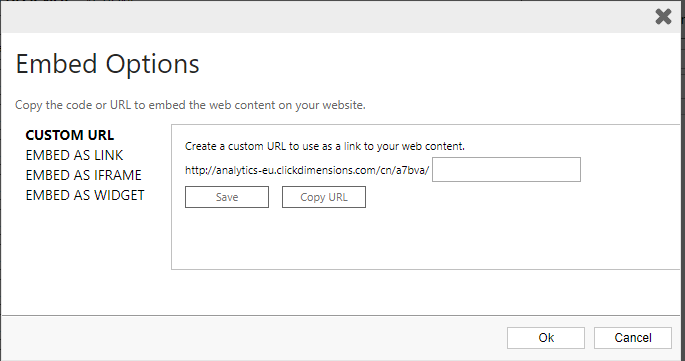
Part I – Embedding the Subscription Management Page
Step 1: Following on from Part H, if you are now ready to allow users to submit their preferences, you can do this by assigning the subscription management page by using the subscription button in the HTML editor to add it to the email. You can do this manually by clicking the 'Embed' button in the Subscription section which will provide you with a link to add.
Part J – Setting up the Opt-ins
Step 1: After completing Part I, the last thing that you need to do is to setup the opt-ins. You can do this in one of two ways:
OR
If you are having trouble setting up your Subscription Management page or are struggling to work with ClickDimensions within Dynamics 365, require some impartial advice, specific ClickDimensions training or a one to one consultation, then please contact Advantage today to discuss how we can help your business.
If you are interested in receiving more of our 'how to' guides, you can sign up for our marketing emails by clicking here.
